Media administration
Here you can see all your uploaded files. You can chose between listview or thumbnail view.
This is the thumbnail view.

This ist the listview

You can edit your uploaded files with six different icons. Click icon 'edit' to see detailed information about your image. You can also edit the name of the image or pixelsizes. Furthermore you can see the saving place of your file in http://login.mailingpoint.de/... Click 'delete' to remove your file.
If you got subfolders, you can move files in other folders by clicking 'move'. Click 'open folder' to land in the chosed subfolder.
Click 'upload new file' for uploading
Pick 'Durchsuchen' to chose your file from your local computer. Click 'OK'. Your file will be uploaded in mailingpoint.
TIP: All file-types are possible to upload. e.g. use image-file-types like jpg, gif or pdf.
You can use your uploaded files in mailings
- as images,
- as attachements or
- hyperlinks to either files on the mailingpoint-server. By using the last possibility, you can offer an opportunity to your subscribers to download a file.
Editing images
Are available in a variety of media management possibilities to edit your image. Here you can see six different tabs for editing your image.
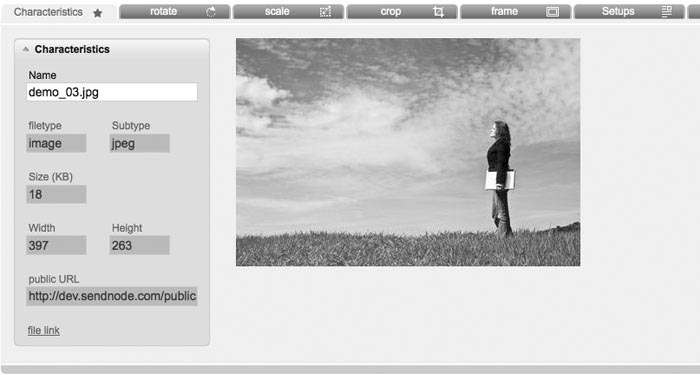
Characteristics: Here you get an overview about your saved information like name, filetype and image size. You can change the name or copy the file-link (e.g. for including this image into your newsletter).
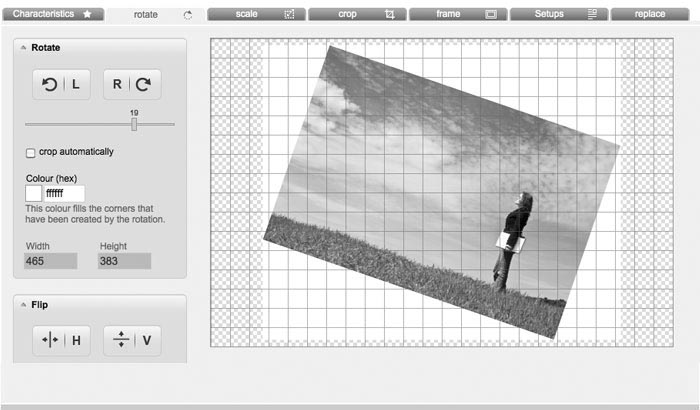
Rotate: This tab includes functions to rotate or reflect your image. The two buttons in the top rotate the image 90 degrees in each case either the right or left. Decide if your image should be cutted automatically or if a framework should be created, which can be colored.
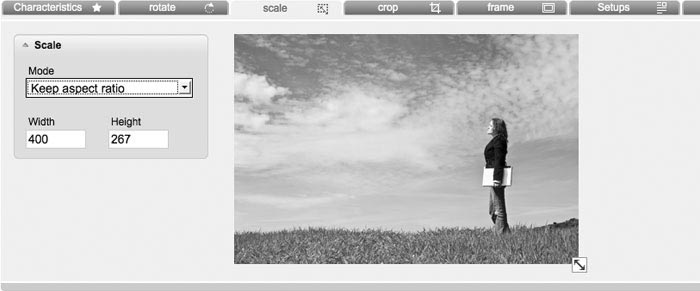
Scale: You can decide, if you want to keep or ignore aspect ratio by scaling. Now you have the possibility to scale your image by moving the small square at the right bottom with your mouse . You can also change the size manual in fields 'width' and 'height'.
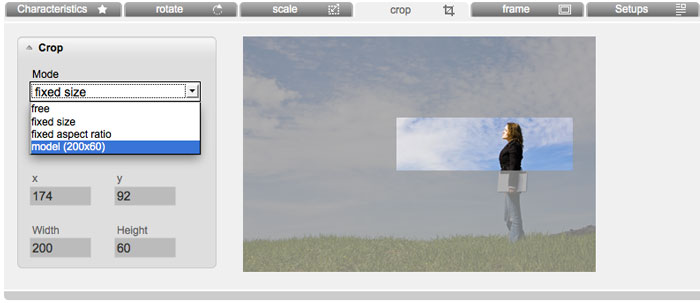
Crop: Here you can adapt the size of your image. You have got three possibilities:
free: Drag the mouse pointer to any section of your image.
Fixed size: Set a fixed width and height and move the cut to a certain place.
Fixed aspect ratio: Set a fixed ratio of width and height of each set .
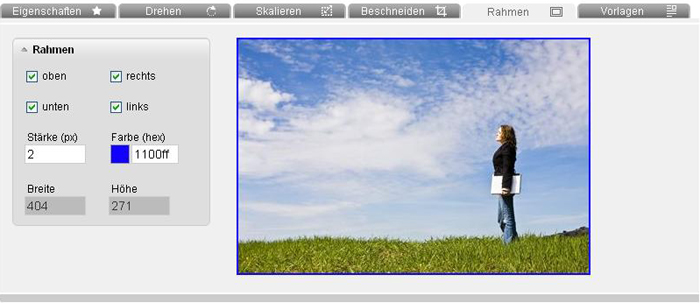
Frame: You can give your image a border of any color and width. You can also specify, if the framework will encompass the entire image or e.g. still on the right and left side of the screen.
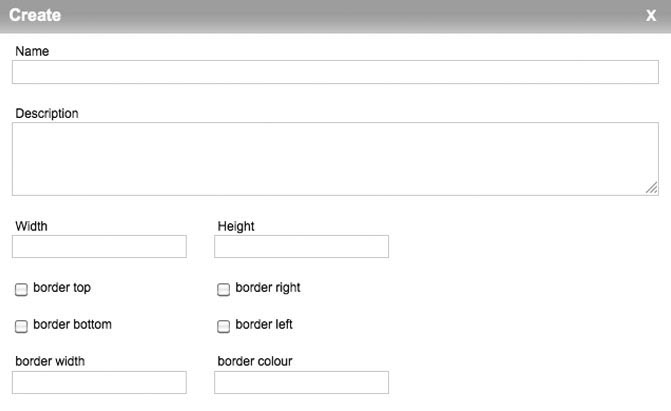
Setups: Determine standard templates that you use frequently in your mailings. Define often used sizes and frames. This allows you to customize your images faster and easier for your newsletter.
If you have to manage multiple files, working with folders will simplify your work. Create new folders in your 'folder administration'. Read more here: Folder administration

